In this tutorial, I quickly outline three different set-ups I tried to add seat-sensing capabilities to my Home Assistant Setup. The set ups don’t require soldering, do not require inverting states in HA, and cover both Zigbee and Wifi Connections. I tried three different boards and pressure sensors and recommend one of the boards and all of the pressure sensors – surprisingly, all of the pressure sensors excelled in different setups! However, I found that the Car Seat Sensor types work best for bed occupancy detection and thin film sensors are useful for seats and couches.
I’ve recently started re‑building my smart home setup with Home Assistant. At the moment, most of my devices are lights (with a few extras like heaters and a robot vacuum – maybe a topic for another post). Naturally, the first and most obvious automations involve switching lights on and off, usually triggered by motion. But that quickly leads to what I like to call the “toilet seat problem”: you settle onto the couch, lie in bed, or sit down for a meal – perfectly still for a while – and suddenly the lights go out. Not great UX.
For a long time, the only workaround I knew was to extend the timeout to turn off the lights after not detecting motion, but that’s hardly an elegant solution. In particular it only works for a limited time – say 10 minutes – and will never be enough to cover, e.g., a full movie. Then I discovered something far more promising: seat sensors.1 By combining inexpensive pressure sensors, for example for car seats, with simple Zigbee/Wi‑Fi devices (like door/window sensors), you can make your smart home aware of whether you’re sitting down somewhere.
Most DIY solutions I found online were built around Aqara door sensors, which aren’t especially cheap and often require soldering and hacking to repurpose them. That got me thinking: why go through all that effort when there are simpler, cheaper alternatives?
Water leak detectors turned out to be the perfect base.2 They already expose contacts designed to trigger when bridged by water – and with a pressure sensor in place of water, they work beautifully for seat detection. To test the idea, I ordered a mix of leak detectors and pressure sensors from AliExpress, hedging against potential duds. To my surprise, every single one worked!
In the end, I built three different seat sensors using different combinations of leak detectors and pressure pads, each of which fits a particular scenario perfectly. Below, I’ll walk through the parts I used and how to put them together.
I share AliExpress Affiliate Links below, however I bought these products for my own usage without taking any compensation. You can support me by ordering through the link.3
Parts Overview
Below I outline the particular parts I tried, both for the connection base and as pressure sensors, and which ones I recommend.
Connection Boards

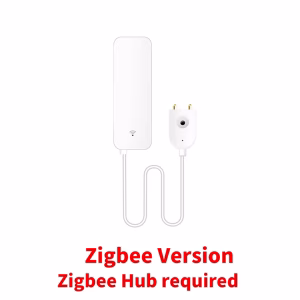
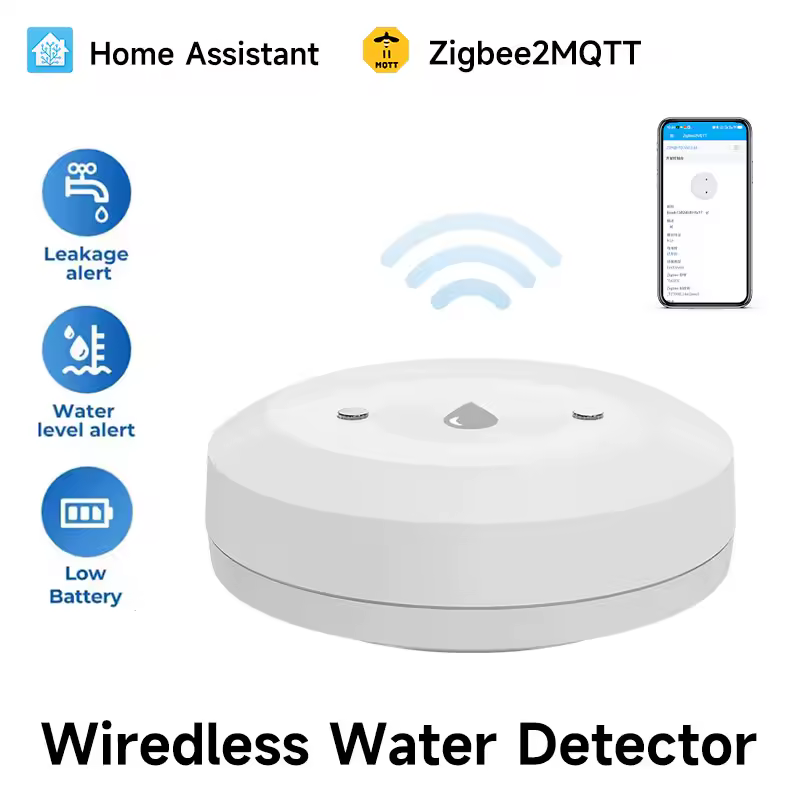
I tried two different water leak detectors and the Wemos D1. In general I can recommend the flat-pancakey Water Leak Detector the most. It is battery-bound, so you can deploy it easily, and as outlined in Solution 1, very easy to insert board jumper cables. I would always pick the Zigbee variant (NEVER WiFi), because 1) Zigbee uses much less power and, more importantly, 2) Zigbee is by default local and does not require the Tuya cloud. Just get a Zigbee stick and connect it to your Home Assistant instance to set up your local mesh.
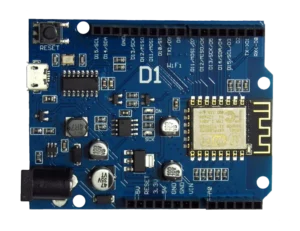
If like me you don’t want to regularly change batteries and your deployment can afford cables (e.g., if it is close to a power socket or the cable can be nicely hidden) I recommend using any (presoldered) ESP board. In my case I used the Wemos D1 because I had it lying around. The ESP32-C3 Development Boards are probably a better pick if you are anyways buying something new, because they also support Bluetooth etc (which can be used in Home Assistant as a very convenient Bluetooth Proxy). Check out Solution 3 for an example setup.
- Recommended: Zigbee Water Leak Detector (Picture | AliExpress)
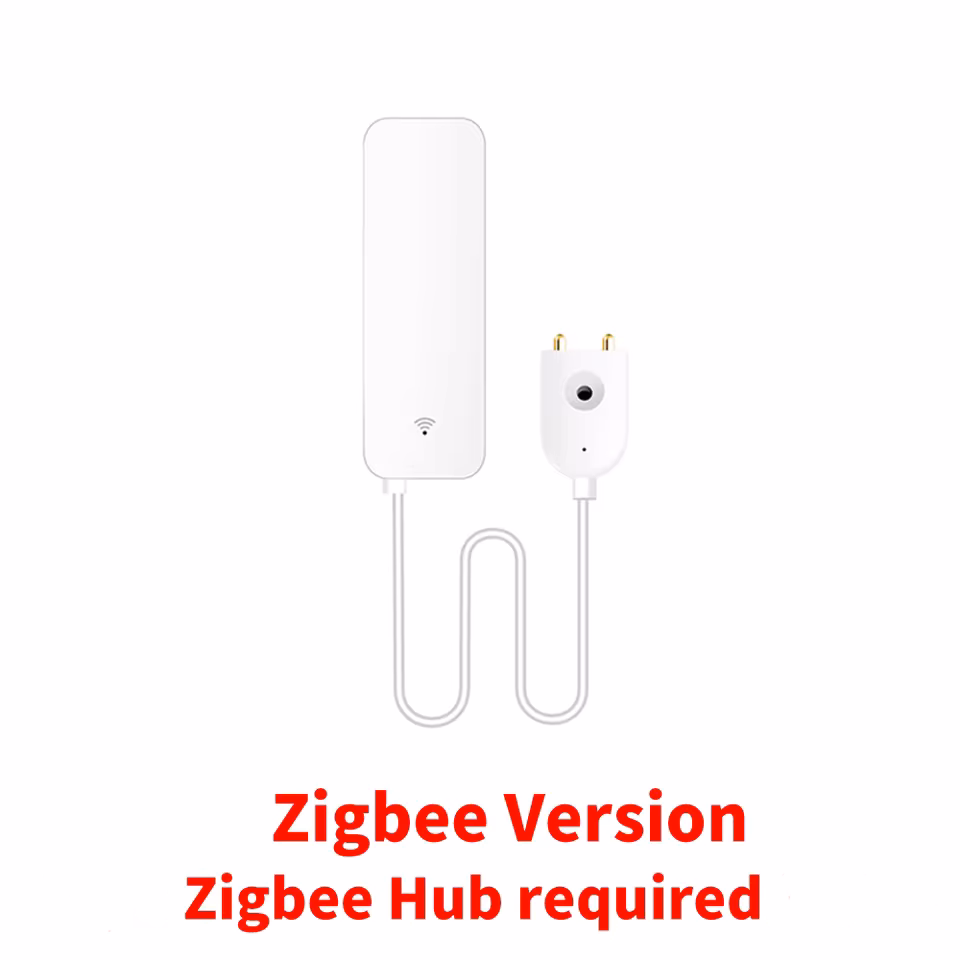
- Requires soldering: Zigbee Water Leak Detector (Picture | AliExpress)
- WiFi + Cable option: Wemos D1 (Description | Picture | AliExpress)
Pressure Sensors
I tried three different sensors and honestly cannot recommend any particular one. I recommend buying the different ones and checking which one works best for your use case. Fortunately I had three use cases and each sensor worked well in one of them, so that worked out nicely.
Generally the thin sensors seemed to not work very well on the bed, likely because the mattress did not provide sufficient resistance against them. The car seat sensor worked best there and seems overall quite sensitive. The thin sensors required closer to full body weight or at least well-distributed weight (e.g., under a cushion) to trigger.
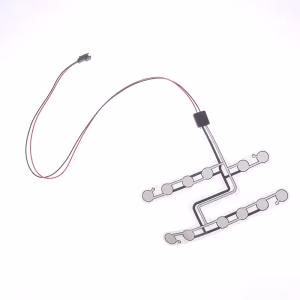
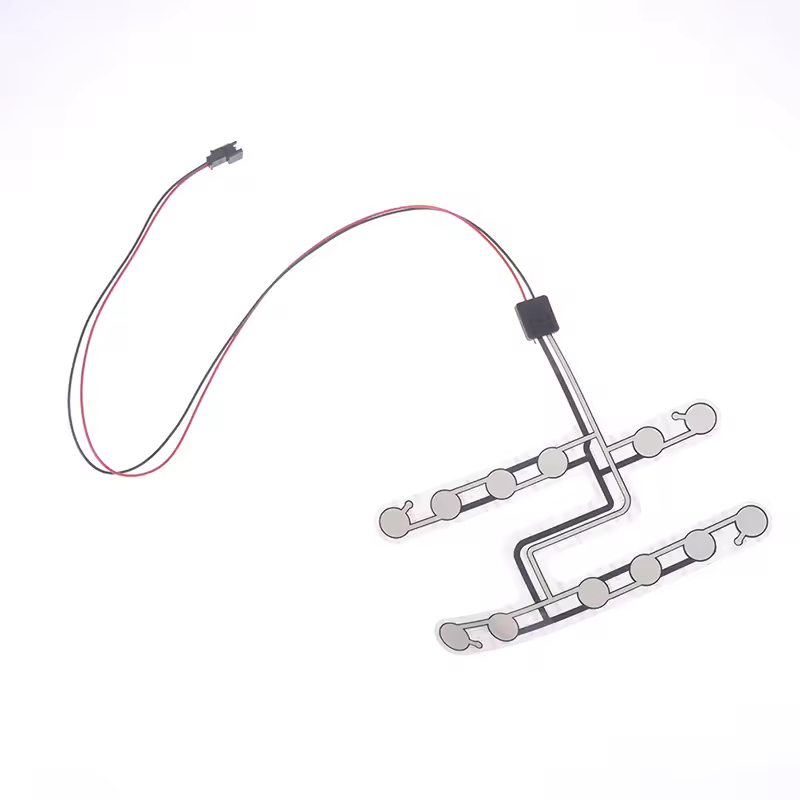
- Easiest to use: Universal Car Seat Pressure Sensor (Picture | AliExpress)
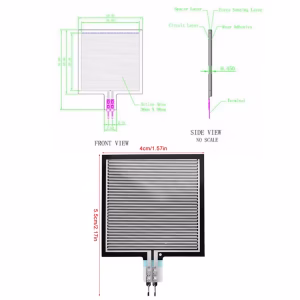
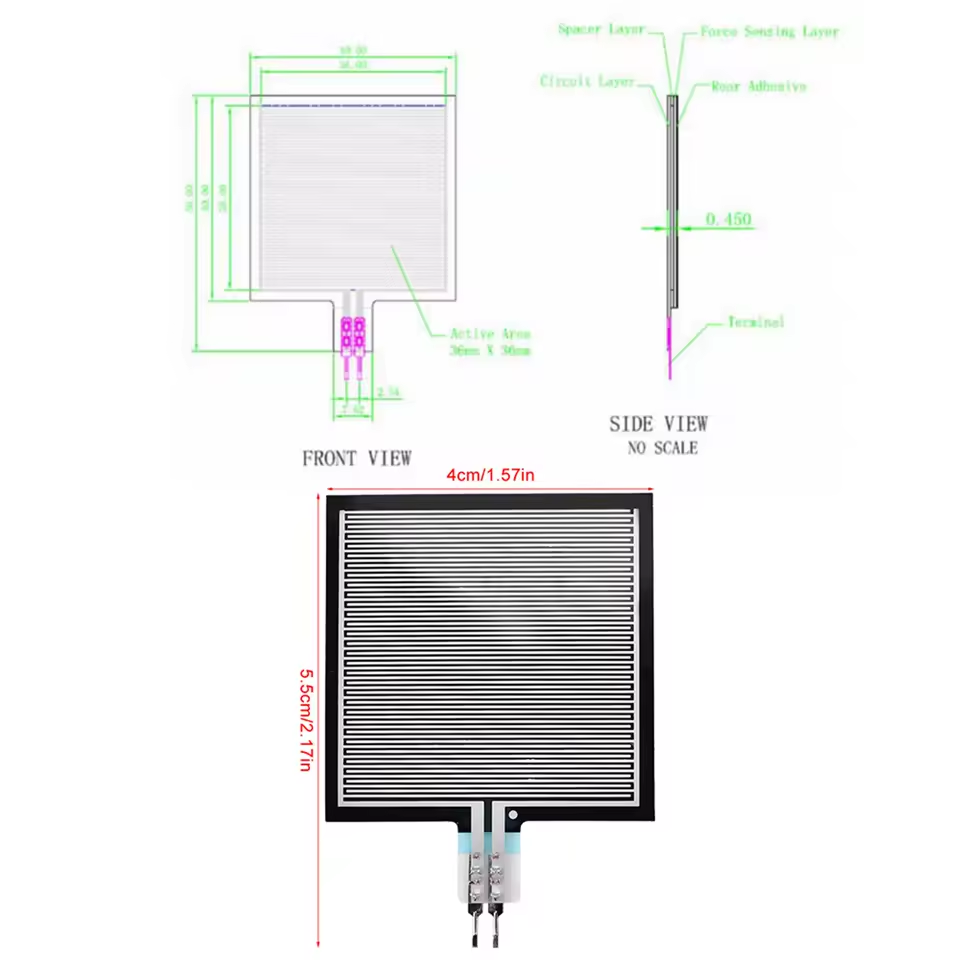
- Smallest: Thin Film Force Sensor (40mm x 55mm) (Picture | AliExpress)
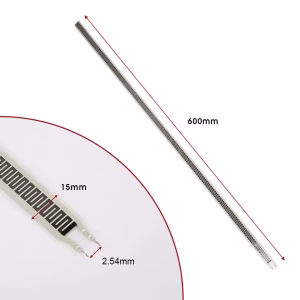
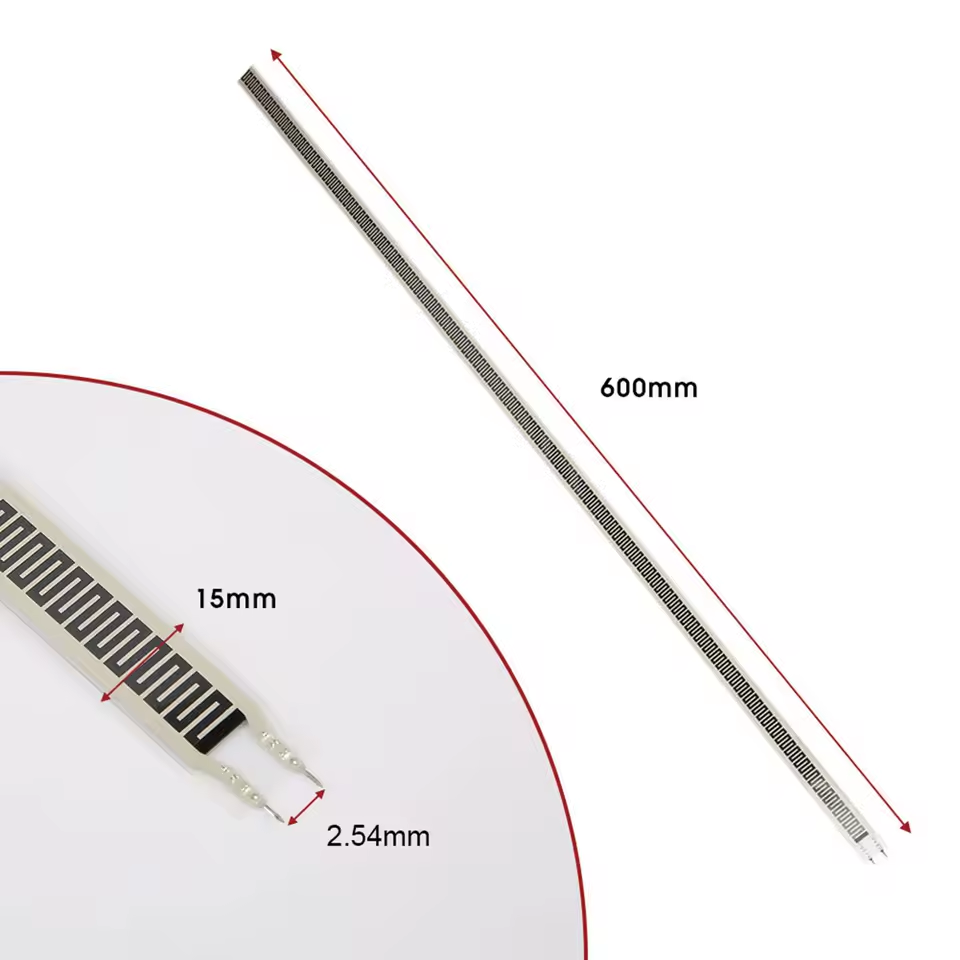
- Longest: Thin Film Force Sensor (600mm x 15mm) (Picture | AliExpress)
Deployment Overview
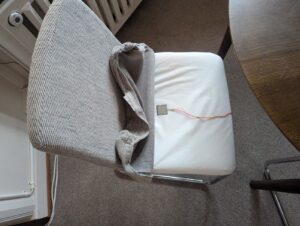
Solution 1 – Table Seat Sensor

This solution is based on a cheap water leak detection board and a small thin force pressure sensor. I am placing this solution first because I think the board is the best for most usecases. Battery-powered, it can be deployed almost anywhere. It can be easily adapted for the jumper cables. And it is quite small.
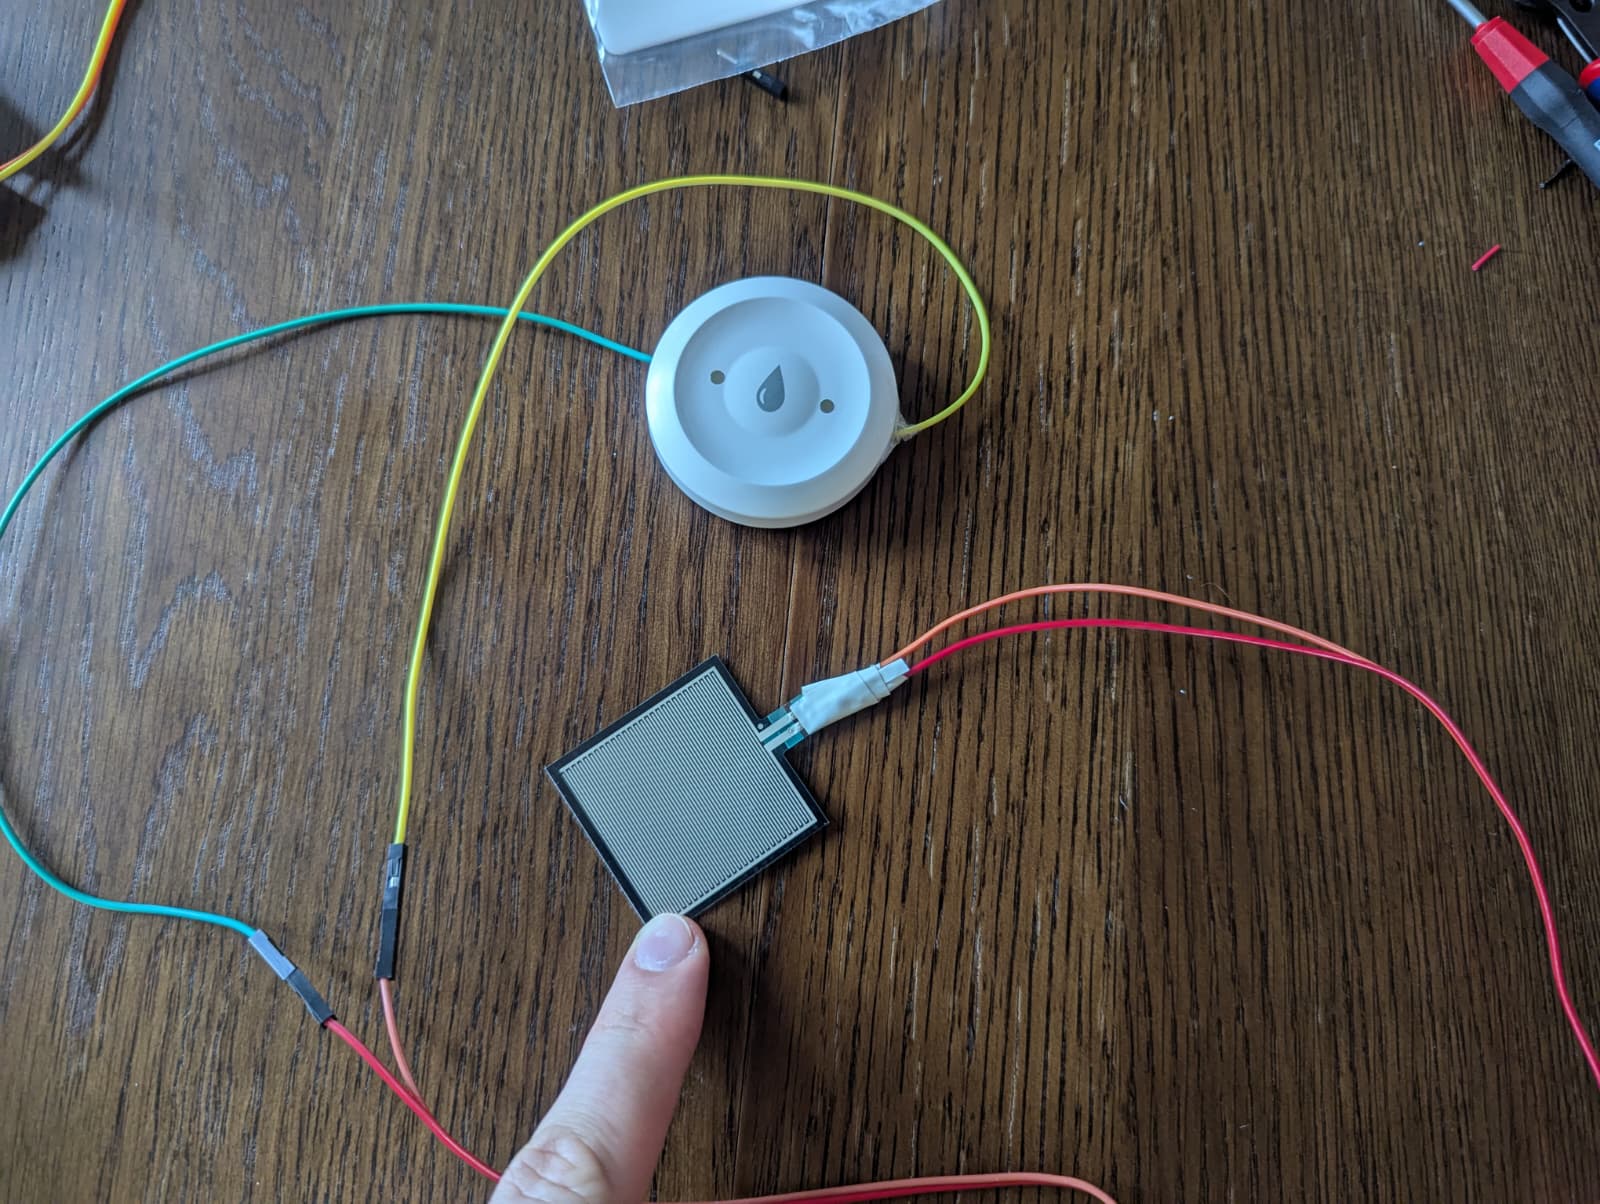
The precise components I used are below, pictured above.
- Zigbee Water Leak Detector (Picture | AliExpress)
- Thin Film Force Sensor (40mm x 55mm) (Picture | AliExpress)
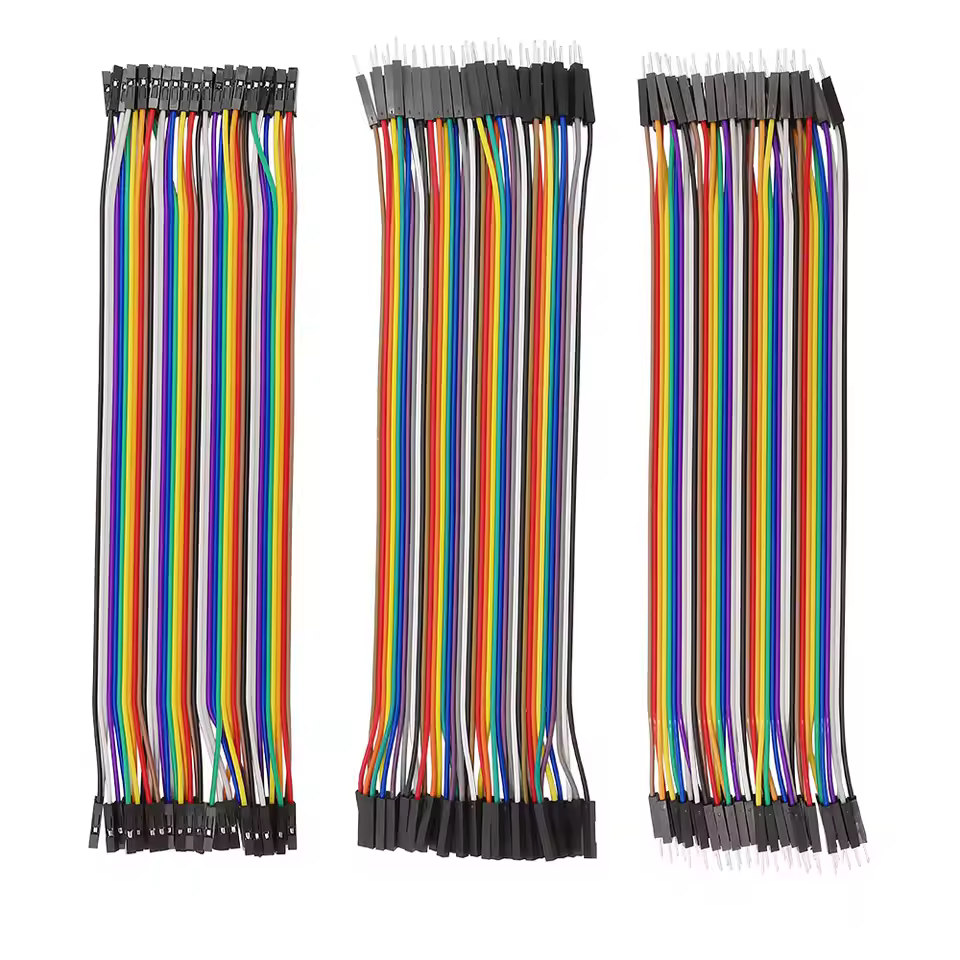
- Breadboard Jumper Cables (Picture | AliExpress)
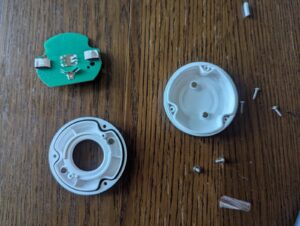
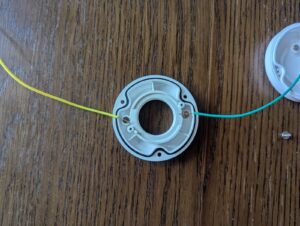
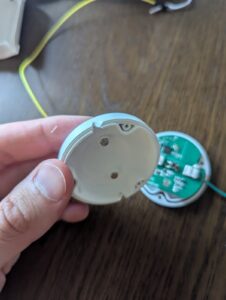
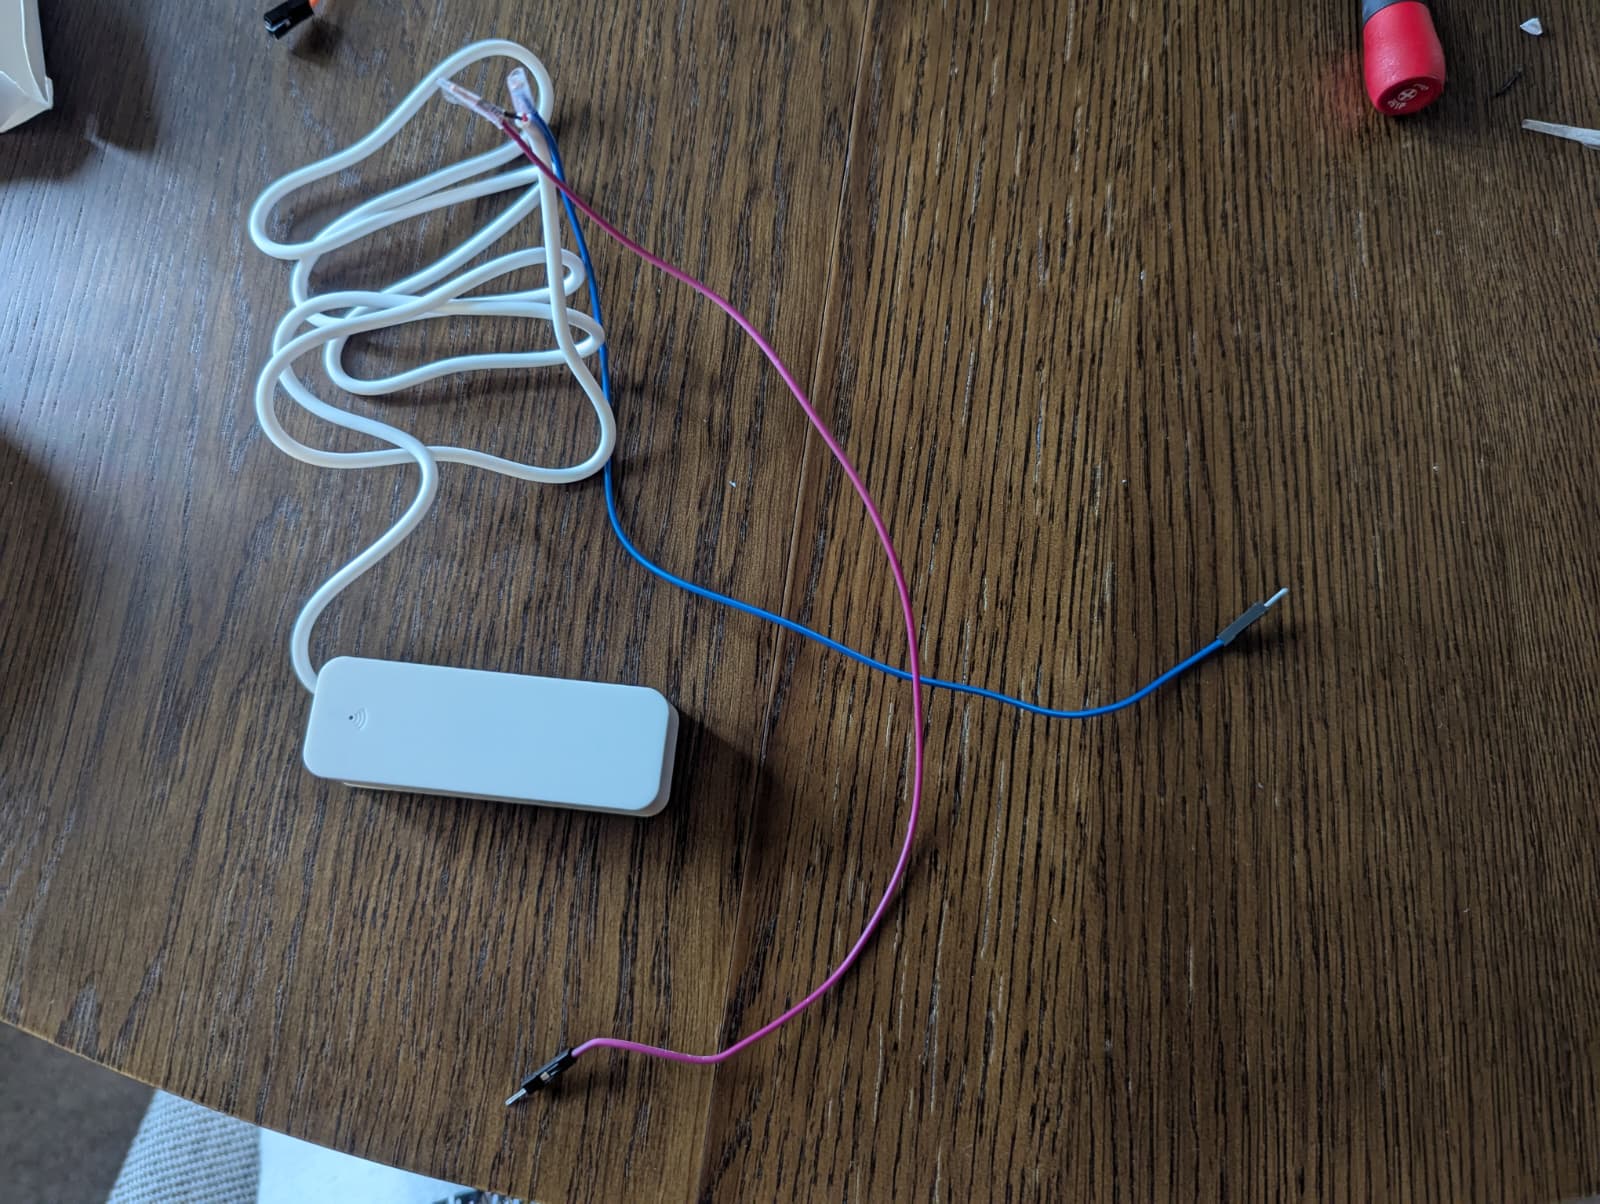
First, I opened the water leak detector, removing the top cover and the main board. The sensor has two exposed contacts on each side (top and bottom) and these connect to the main board inside the sensor through some cushion-y setup. I cut off one end of a jumper cable, removed insulation and the laid it on top of the bottom contact inside the sensor. Then I screwed the main board back onto the sensor, effectively squeezing the cable in. This worked great and appears to be quite robust!
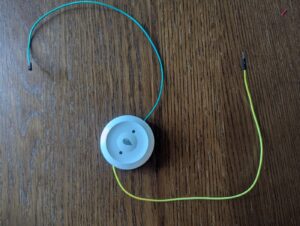

To still be able to screw the top cover back onto the sensor, you need to remove two small pieces on the side of the top cover. These holes just need to be big enough to let the cable out. This probably destroyed any water-resistance of the sensor, but I don’t need it anyways. The result is a sensor that you can connect directly to the Thin Film Sensor. Note that the sensor itself comes with rather hard pins at the end that somewhat work directly with jumper cables, I ended up soldering them to the jumper cables just to be sure. Note also that of course you can connect any of the other pressure sensors presented here using the jumper cables.

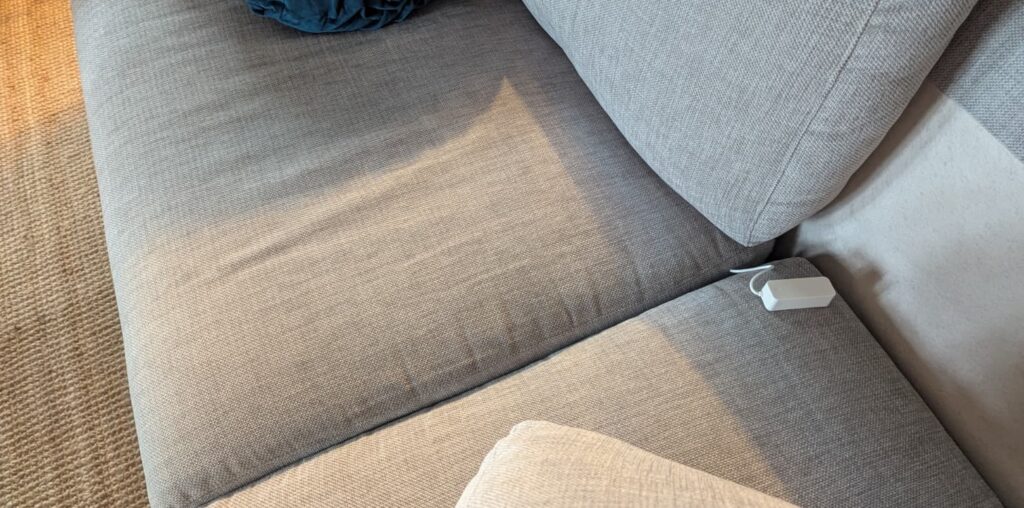
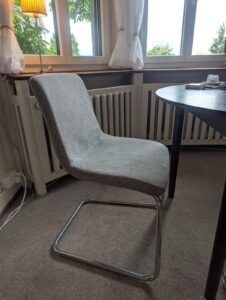
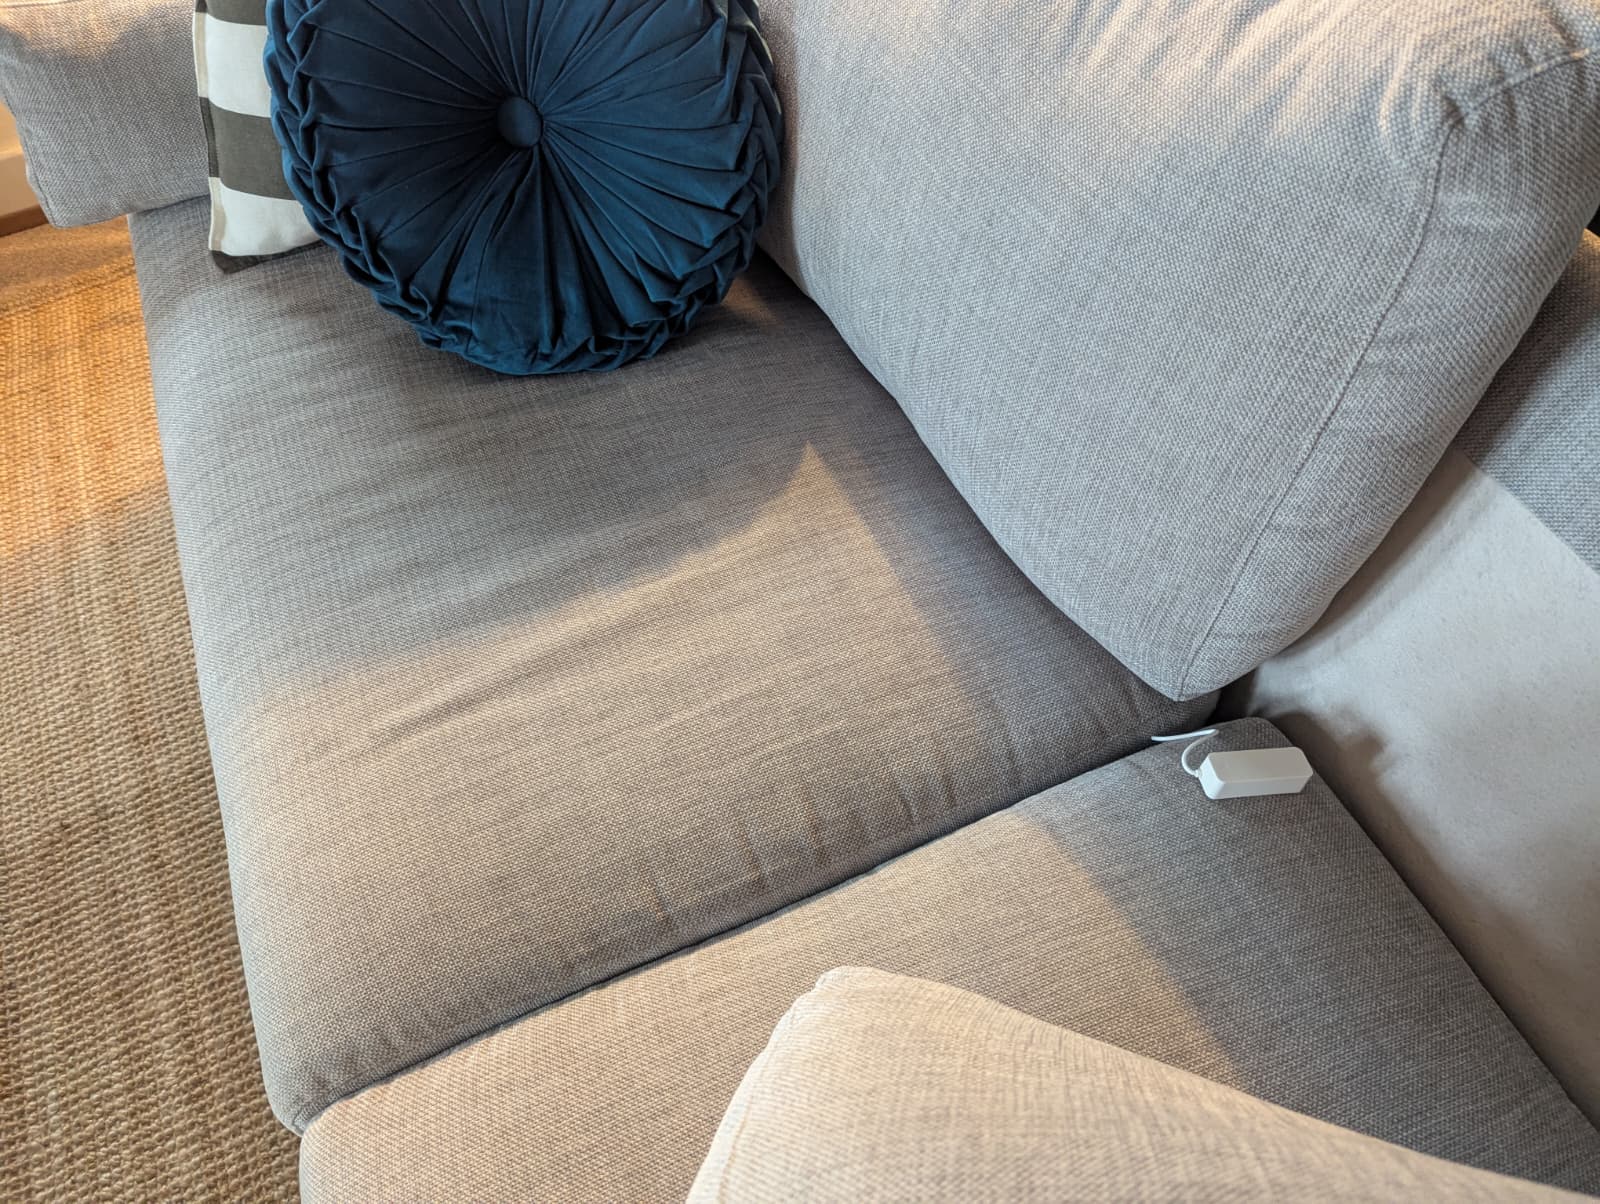
The combination of sensor and board can then be installed whereever you want. I like the form factor of the board, because it allows me to hide it in cushion cracks or below seat skins. The sensor is also so thin and small that you would hardly feel or see it. Look at the final picture above, you can not see the seat sensor at all! I tested it a bit and found it quite reliable. It is quite insensitive though, so I found it to work best when you sit on it, placing a lot of pressure on the sensor. Now do I need a second one for the other seat?…
Solution 2 – Couch Sensor
The other setup was to detect whether someone is sitting on the couch. Our couch is quite long, so a long pressure detection sensor is naturally well suited. Concretely I used the components listed below.
- Zigbee Water Leak Detector (different than Solution 1) (Picture | AliExpress)
- Thin Film Force Sensor (600mm x 15mm) (Picture | AliExpress)
- Breadboard Jumper Cables (Picture | AliExpress)
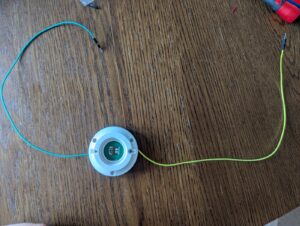
To connect the sensor and the water leak detector, I cut off the exposed contacts and removed the insulation, same on a simple jumper cable. I then twirled the cables together, wrapped in some tape. You probably want this to be properly soldered in a better setup, but I anyways do not recommend this water leak detector for exactly the need to solder for a good connection.
Then I placed the long film sensor below the cushion of our couch. To my surprise, even though it seemed rather insensitive without the cushion, after adding the cushion it triggered consistently even when only my feet lay on the half with the sensor. Maybe it triggers better when force is evenly distributed, or the weight of the cushion placed enough weight for my feet to push it over the threshold.
Solution 3 – Wemos Bed Sensor
This solution is based on an old Wemos D1 and a car pressure sensor:
- Wemos D1 (Description | Picture | AliExpress)
- Universal Car Seat Pressure Sensor (Picture | AliExpress)
- Breadboard Jumper Cables (Picture | AliExpress)
I had an old Wemos D1 lying around for a while. It has a really old and weak ESP8266, which only supports WiFi (many new boards support Bluetooth or ZigBee) but it suited the purpose perfectly:
- You can easily flash it with ESPHome
- It requires no battery and can use my old micro-USB cables and adapters
- It has pre-soldered sockets where I can easily connect the pressure sensors
To turn it into a bed presence sensor, I simply connected the Car Seat Pressure Sensor using the Breadboard Jumper Cables (the female end fits onto the sensor’s attached cables, the male part into the Wemos Board). I connected one end to GND and the other to D8 / GPIO0. 4 Then I tugged the Pressure Sensor under the mattress topper such that it would not be felt while sleeping, but also did not have an entire mattress on top of it. Why the Universal Seat Pressure Sensor and none of the others? For some reason, this one worked best in the bed, maybe because it has a larger area to lie on. The others didn’t detect me at all when lying down.
I used ESPHome to configure the board, which worked like a breeze. I used the pip installation, but your best setup may vary. The configuration file is shown below.
esphome:
  name: wemos-d1

esp8266:
  board: d1

# Enable logging
logger:

# Enable Home Assistant API
api:
  password: "APIPW"

ota:
  - platform: esphome
    password: "OTAPW"

wifi:
  ssid: "WIFINAME"
  password: "WIFIPW"

  # Enable fallback hotspot (captive portal) in case wifi connection fails
  ap:
    ssid: "WIFINAME"
    password: "WIFIPW"

captive_portal:

binary_sensor:
  - platform: gpio
    name: "Bed Occupancy"
    device_class: occupancy
    pin:
      number: GPIO0
      inverted: True
      mode:
        input: true
        pullup: true
Concluding remarks
Overall, I was surprised how well this worked. With the water leak sensors I feel that I have a rather sturdy setup, for my recommended sensor not requiring soldering at all. In contrast, the Aqara door sensor hacks require a lot of soldering, more expensive sensors, and inversion of the signal in Home Assistant. Just remember to choose Zigbee sensor when not buying Aqara to avoid needing the Tuya cloud for operation!
The main open question is now whether I will eventually be satisfied with the home automation setup or if I will find something else to optimize. For example exactly triangulating phone positions based on bluetooth beacons…
Footnotes
- In fact there are a lot of variations of DIY sensors to augment your smart home, but I found the seat sensors most promising. For example, find a list here in the Home Assistant Forum: https://community.home-assistant.io/t/a-list-of-door-sensor-reed-sensor-hacks-aqara-xiaomi-others/443598 ↩︎
- There is another tutorial for Aqara water leak sensors, but I didn’t like that the cables were visible from the outside, and its a bit more expensive than the options presented here. That said, the battery likely lasts longer in them. https://vdbrink.github.io/zigbee/zigbee_chair_occupancy_sensor#with-an-aqara-water-leak-sensor ↩︎
- I post AliExpress links for the used products here. However, they tend to disappear quickly, being replaced by other vendors selling the identical product – for this reason I also post images of how the product should look like. ↩︎
- Your D8 could be an entirely different GPIO. Google for “Board Pinout” for whichever board you happen to own. ↩︎